How do you connect a fiber optic to a patch cord?**
**Introduction
In today''s digital age, where data is transmitted at lightning-fast speeds, fiber optic technology plays a crucial role in networking and telecommunications. Fiber optic cables are used to transmit large amounts of data over long distances using light signals. To establish a connection between devices, fiber optic cables are often connected to patch cords. In this article, we will explore the process of connecting a fiber optic cable to a patch cord, along with the necessary tools and steps involved.
Understanding Fiber Optic Connectors
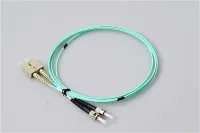
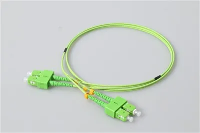
Fiber optic connectors are specialized components that facilitate the connection between fiber optic cables and other devices. These connectors are designed to align and join the fiber cores accurately, allowing for efficient data transmission. Various types of fiber optic connectors are available, including SC (Standard Connector), LC (Lucent Connector), ST (Straight Tip), and more. Each type has its own unique features and applications.
Tools Required
Before attempting to connect a fiber optic cable to a patch cord, it is essential to gather the necessary tools. Here are some tools commonly used in the process:
1. Fiber optic cable
2. Patch cord
3. Fiber cleaver
4. Fiber optic connector
5. Fiber optic cleaning materials
6. Fiber optic stripper
7. Fiber optic epoxy
8. Heat gun or oven
9. Precision fiber optic polishing papers
Step-by-step Process
Now let''s dive into the step-by-step process of connecting a fiber optic cable to a patch cord:
Step 1: Preparation
To ensure a successful connection, it is important to start with proper preparation. Gather all the tools mentioned above and ensure they are clean and in good working condition. Also, make sure to work in a clean and well-lit environment to avoid any contamination or damage to the delicate fiber optic components.
Step 2: Cable Preparation
Begin by preparing the fiber optic cable. Use a fiber optic stripper to remove the outer jacket or protective layer of the cable. Be cautious not to cut or damage the underlying fibers while stripping the jacket. Once the jacket is removed, clean the exposed fiber using lint-free wipes and a suitable fiber optic cleaning solution. This step is crucial as any dust or debris on the fiber may affect the performance of the connection.
Step 3: Fiber Cleaving
After preparing the cable, it is necessary to cleave or cut the fiber end. A fiber cleaver is used to achieve a clean and perpendicular cut. Follow the manufacturer''s instructions for the specific cleaver being used to ensure accurate results. A clean and precise cleave is essential for a successful connection.
Step 4: Connector Assembly
Next, assemble the fiber optic connector onto the cleaved end of the fiber. Apply a suitable fiber optic epoxy adhesive onto the connector ferrule and carefully insert the cleaved fiber into it. Ensure that the fiber is aligned with the connector''s core properly. Excess adhesive should be wiped away using lint-free wipes. It is crucial to perform this step with extreme precision to avoid any misalignment or damage to the fiber.
Step 5: Curing Epoxy
To secure the connection, the epoxy adhesive needs to be cured. This can be done using a heat gun or oven, depending on the type of epoxy and manufacturer''s guidelines. Follow the recommended curing time and temperature to achieve a strong and durable bond between the fiber and the connector.
Step 6: Polishing
After the epoxy has cured, the connector needs to be polished to achieve optimal performance. Start by using coarse polishing paper to remove any excess epoxy and smoothen the connector surface. Gradually move on to finer polishing papers to achieve a mirror-like finish. This step helps minimize reflection and signal loss. It is crucial to maintain cleanliness throughout the polishing process to avoid any contamination.
Step 7: Patch Cord Connection
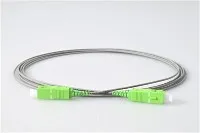
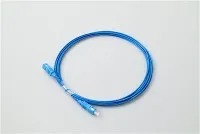
With the fiber optic cable now connected to the connector, it is time to connect the patch cord to the other end of the connector. Patch cords are pre-terminated fiber optic cables with connectors on both ends. Align the patch cord connector with the fiber optic connector and gently push them together until a click or secure fit is felt. Ensure that both connectors are aligned properly to avoid any signal loss.
Step 8: Testing and Verification
After completing the connection, it is essential to test and verify the connectivity. Use a fiber optic power meter or an optical time-domain reflectometer (OTDR) to measure the power and loss characteristics of the connection. This will help ensure that the connection is properly established and functioning within the desired specifications.
Conclusion
Connecting a fiber optic cable to a patch cord requires precision, attention to detail, and the use of specialized tools. By following the step-by-step process outlined in this article, you can successfully establish a reliable connection. Remember to always handle fiber optic components with care and work in a clean environment. Properly connected fiber optic patch cords play a vital role in ensuring seamless and efficient data transmission in various applications, from telecommunications to networking and beyond.